Meeting the Demands of Modern Logistics with Industrial-Grade Warehouse Flooring
News
Warehouse flooring is a fundamental yet often underestimated part of modern logistics infrastructure. As fulfilment...
Read More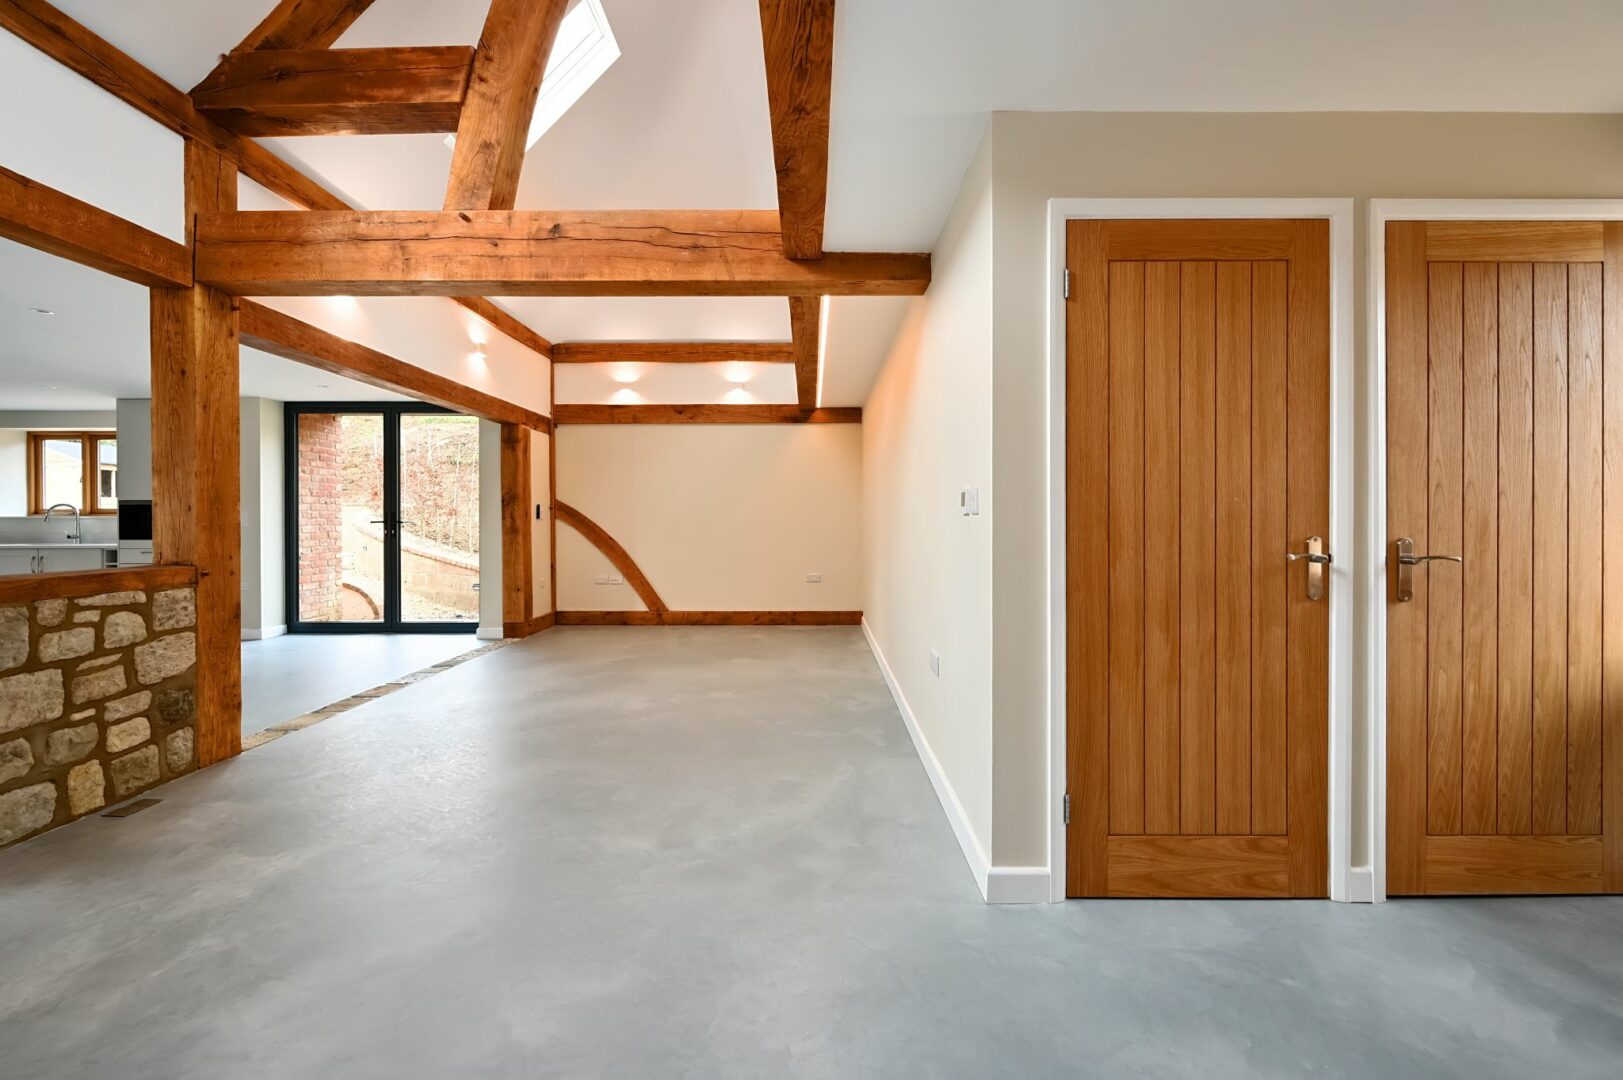
When it comes to achieving a seamless, stylish, and durable microcement finish, preparation and precision are key. We often talk about the importance of the 6-day microcement installation process, but what does that actually involve? Here’s a step-by-step breakdown of how our expert team ensures flawless results every time.
[quote_block heading=”Looking for a free microcement quote?” text=”Fill out our contact form with more details about your microcement project and we’ll get in touch with a more accurate, no-obligation microcement cost.” link=”http://flexflooring.co.uk/contact/”]
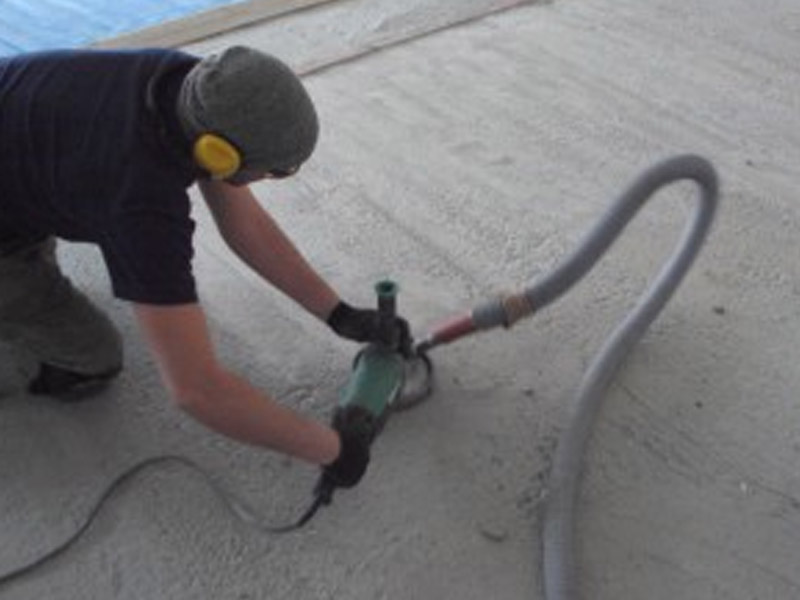
Preparation is crucial for a successful microcement installation. On the first day, we focus on ensuring that the existing slab is ready for the process:
Proper preparation on Day 1 sets the foundation for a flawless microcement installation.
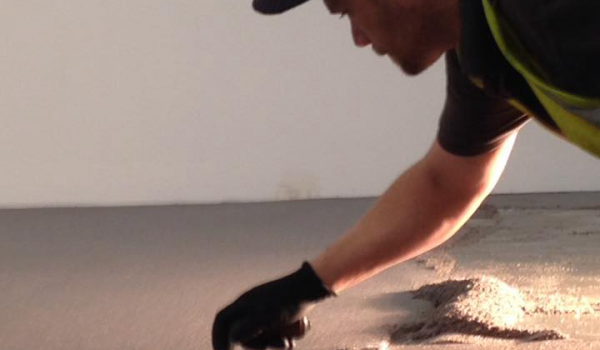
On Day 2, we focus on reinforcing the surface to ensure it has the strength needed to support the microcement layers:
This layer helps to create a robust foundation for the microcement application.
To further strengthen the surface and ensure a smooth, even base, we apply a second epoxy scratch coat:
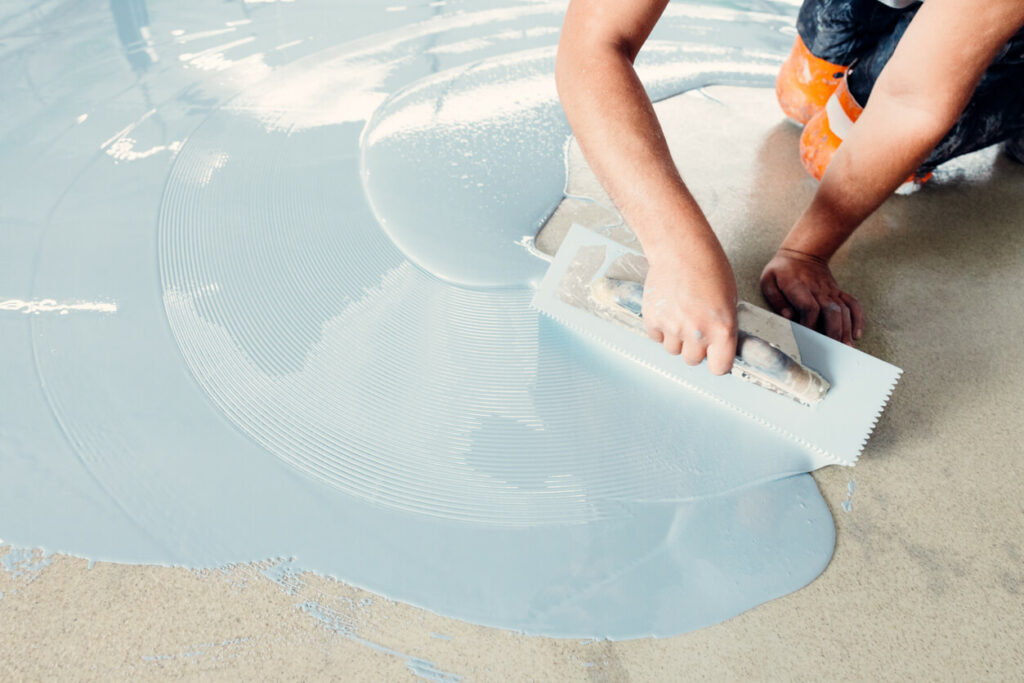
On Day 4, we begin the process of applying the microcement itself:
This layer forms the base for the final microcement finish and begins to create the subtle movement and tone that characterises microcement surfaces.
Day 5 is dedicated to applying the second and final layer of microcement:
This layer completes the look, providing a seamless, stylish finish.
The final step in the process is to apply a protective sealer coat:
This sealing process enhances the surface’s resistance to wear, making it ideal for both residential and commercial environments.
Microcement is a popular choice for flooring and walls due to its many benefits:
For more information about the benefits of microcement, visit our Microcement Flooring page.
The microcement installation process takes a minimum of 6 days. This includes 3 preparation layers, 2 microcement layers, and a protective sealer coat. Each layer requires overnight curing before the next step can begin.
Yes! Microcement is fully waterproof, making it an excellent choice for bathrooms, wet rooms, and microcement kitchens. Its seamless finish also makes it resistant to mould and mildew.
Absolutely. When installed correctly, microcement is extremely durable and resistant to wear, making it ideal for both residential and commercial spaces.
Microcement surfaces are easy to maintain. Regular sweeping and occasional damp mopping will keep your microcement looking its best.
If you’re considering microcement for your next project, get in touch with our team today. We’d love to discuss how we can help you achieve a stunning, seamless finish that combines style and functionality.
For more information, read our frequently visited guides below:
[quote_block heading=”Looking for a free microcement quote?” text=”Fill out our contact form with more details about your microcement project and we’ll get in touch with a more accurate, no-obligation microcement cost.” link=”http://flexflooring.co.uk/contact/”]
Lorem ipsum dolor sit amet, consectetur adipiscing elit.
News
Warehouse flooring is a fundamental yet often underestimated part of modern logistics infrastructure. As fulfilment...
Read More